
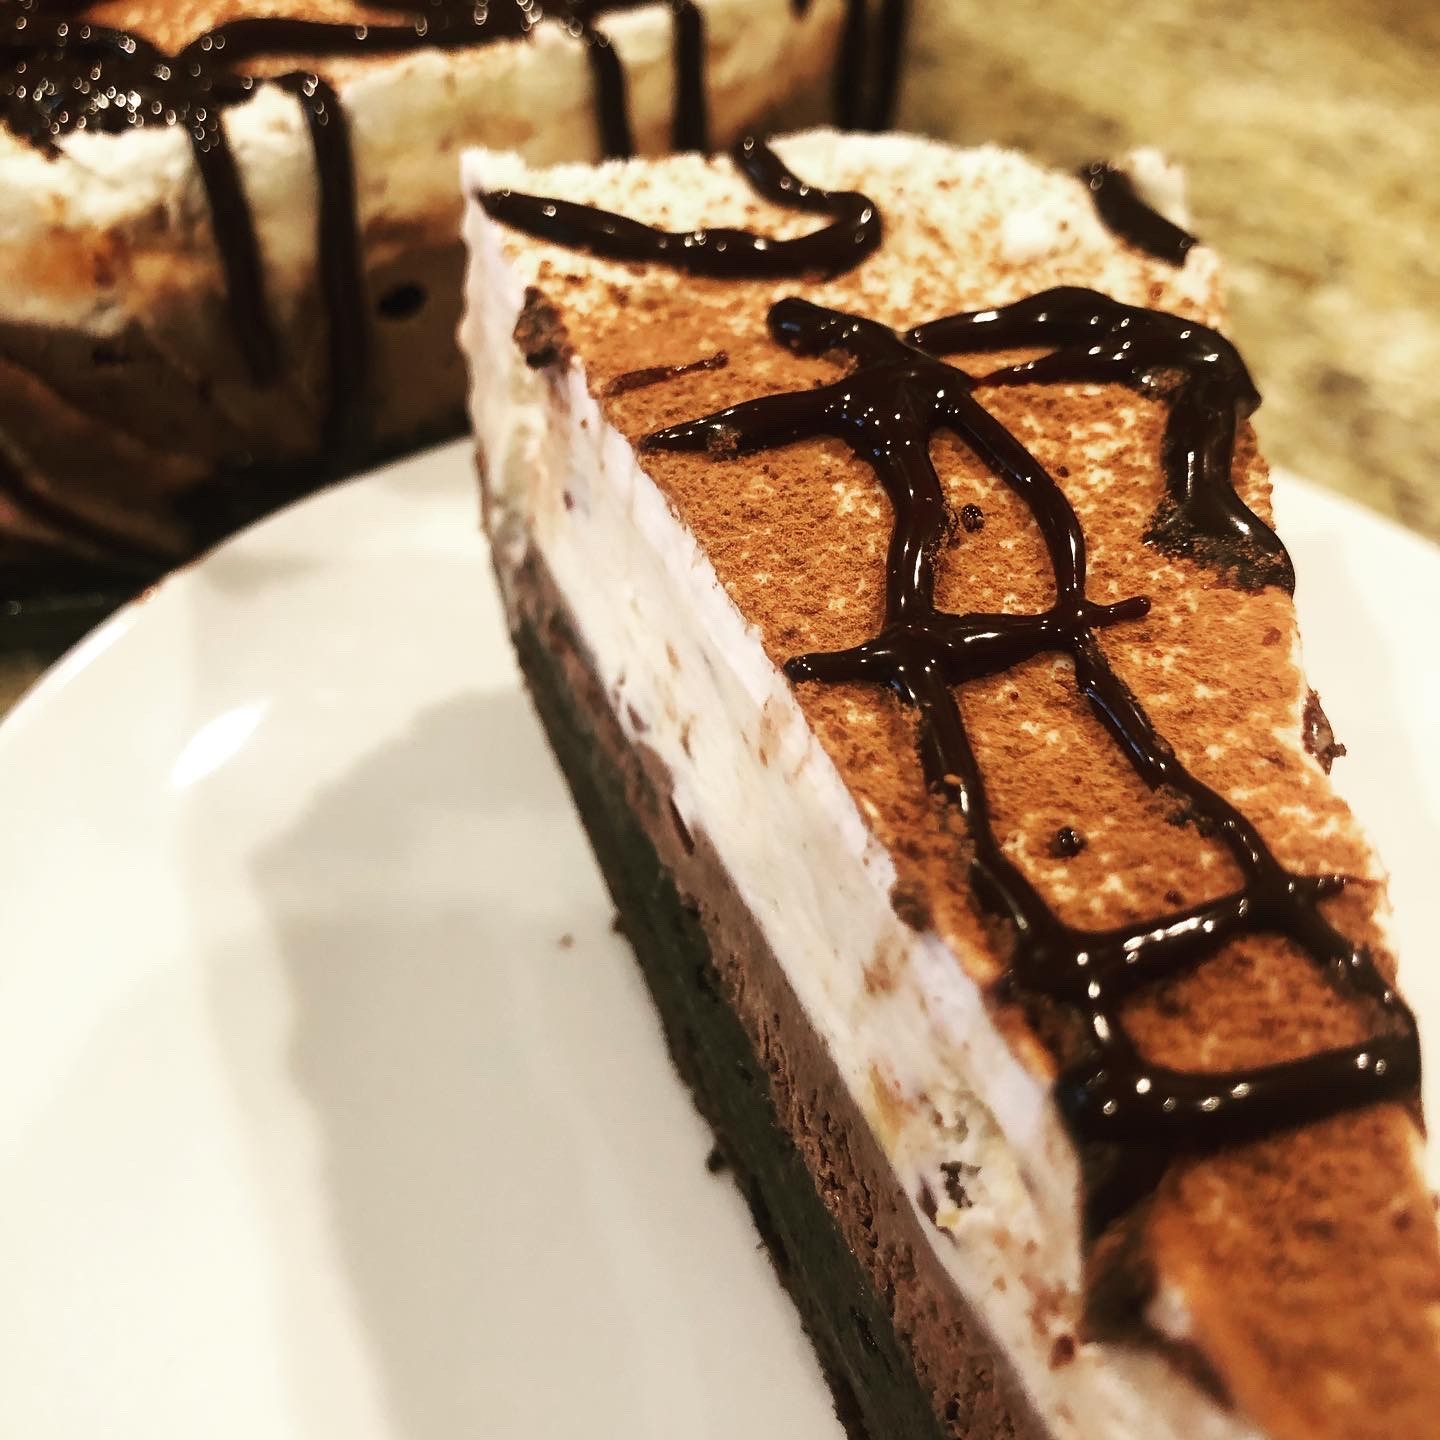
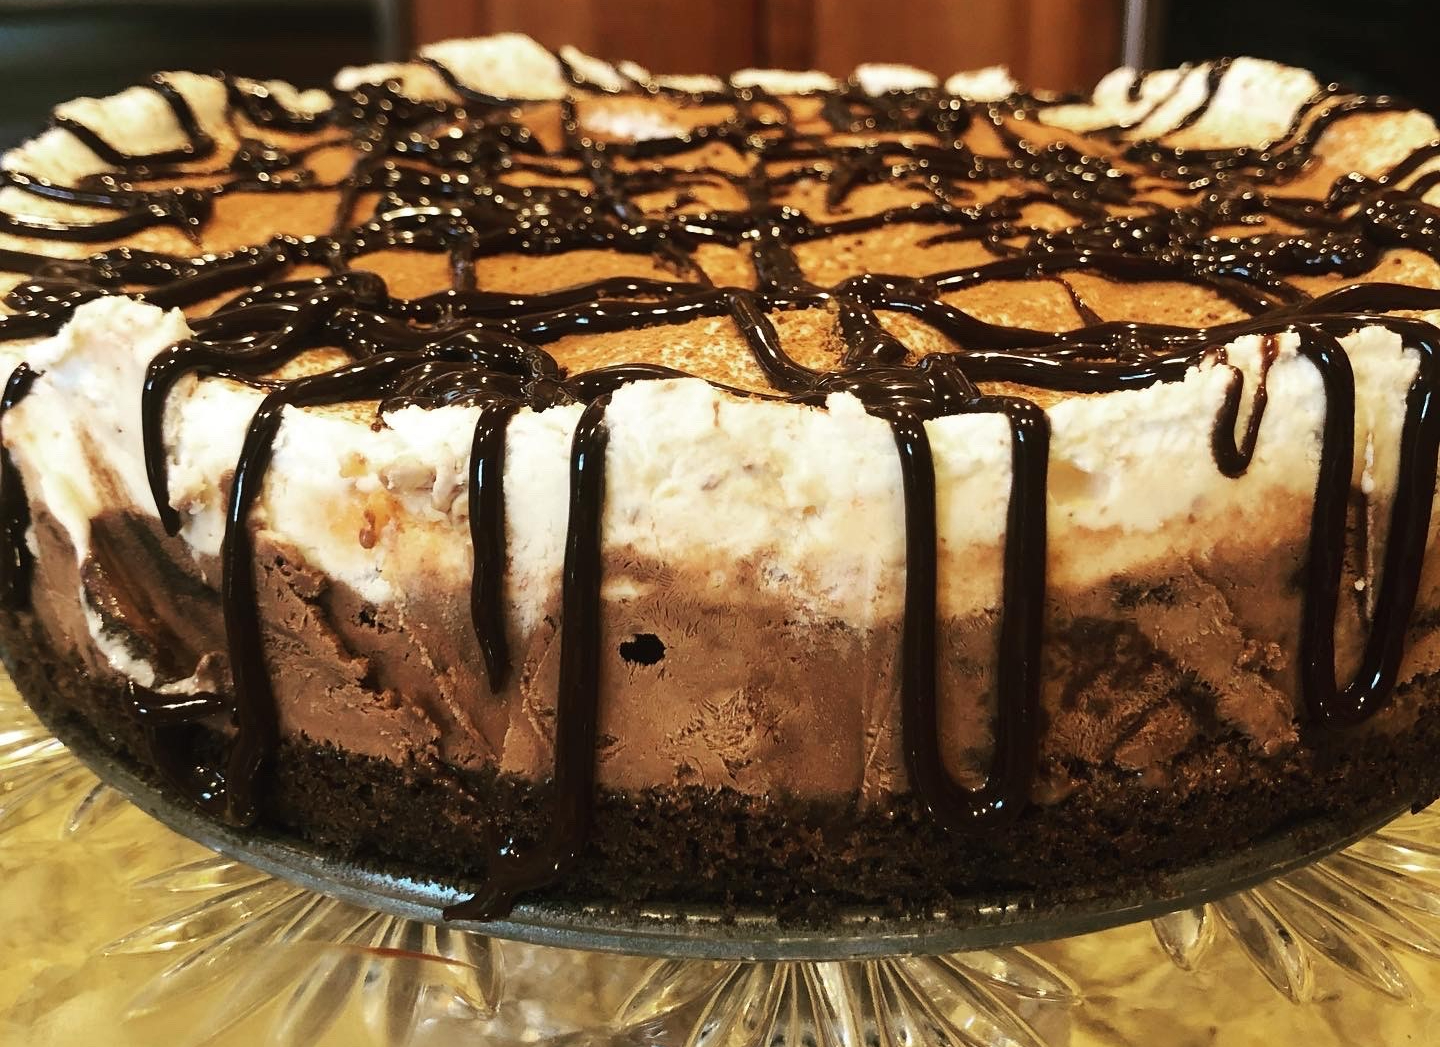
Anything that begins with “Fudge” Brownie Ice Cream Cake has to be devil-iciously scrumptious! This dessert calls out to all chocoholics and ice cream lovers. It is the perfect combination of brownie, two layers of ice cream, whipped cream and fudge.
It was a hit with our kids the other night and personally I had to take a cheat day from low-carbs to try it out. This recipe is quite versatile too.
You can use any ice cream flavor you want. I used a Chocolate Ice Cream with Fudge Cups and Swirls for one layer and Peanut Butter Chocolate Candy Crunch for the second. I also made homemade whipped cream and used Ghirardelli Fudge Sauce.
If you don’t feel like baking, you can buy a store bought brownie and Cool Whip as substitutes. You can even get crazy and do three layers of ice cream. The creativity is in your hands. You need will-power of steel to not have a piece though!
Fudge Brownie Ice Cream Cake
Ingredients:
Brownie Layer:
1 cup butter, softened
2 cups sugar
4 eggs
4 tsp vanilla
1 tsp salt
1/2 cup cocoa, such as Hershey’s, Ghirardelli or Guittard
2 cups all-purpose flour
1 cup chopped nuts (walnuts, pecans or any of your choice), optional
Ice Cream Layer:
2 — 1 pint ice cream flavors of your choice such as Ben & Jerry’s, Haagen Dazs, Halo Top or any other choice
1/2 cup hot fudge sauce (heated) to drizzle over the top such as Ghirardelli, Smuckers or Hershey’s
Whipped Cream Layer:
2 cups heavy whipped cream
3/4 cups powdered sugar
1 TBSP vanilla
Cocoa powder to dust the top of the cake (such as Ghirardelli, Hershey’s or Guittard)
Directions:
- Preheat the oven to 350 degrees F. Use a Spring Form Pan such as Nordic or Wilton with removable sides or line a 9″ round cake pan with parchment paper leaving enough to hangover the edges of the pan. This will make it easier to remove if you’re not using a Spring Form Pan.
- Take out one of the pints of ice cream from the freezer and let it sit until softened. (I sometimes put it in the microwave for about 20 to 30 seconds to assist the process.)
- Then, make the brownies. Using a large bowl (I use my Kitchen Aid Mixer) combine the butter, sugar, eggs, vanilla and salt. Add in the cocoa, flour and nuts. Mix well until combined. Pour into the prepared 9×13 pan and bake for 20 to 25 minutes. Check on the brownies after 18 minutes to determine the remaining time. You want the edges to set and a skewer or toothpick inserted in the middle to come out clean. Once baked, remove from the oven and let sit until slightly cool.
- Using the softened ice cream spoon it over the brownie in the pan. Smooth the ice cream thoroughly removing any air pockets. Cover this with plastic wrap and freeze about 30 minutes to 1 hour.
- While the brownie and first layer of ice cream is freezing, remove the other pint of ice cream and let it sit until softened.
- Remove the brownie from the freezer, top it with the next layer of softened ice cream. Smooth the ice cream thoroughly removing the air pockets. Cover this with plastic wrap and freeze another 30 minutes to 1 hour.
- While the brownie and ice cream are in the freezer, make your whipped cream in a bowl with a standing mixer or an electric mixer. Add the heavy cream and whip until soft peaks begin to form (this can take several minutes). Add in the powdered sugar and vanilla and continue whipping to the right consistency.
- Remove the cake from the freezer and spread the whipped cream all over the ice cream layer.
- Sprinkle the cake with a dusting of the cocoa powder. Then, use the hot fudge that you’ve heated to decorate the top in long ribbons from side to side. It’s easier to stream over the dessert if it is warmed.
You can cut it immediately after decorating or return it to the freezer. If it’s the latter, you can remove the cake from the freezer and let it sit about 10 to 15 minutes. Then, cut with a long serrated knife that you wipe clean after each piece. You can also dip the knife in a glass of hot water between cuts to help make it easier. Be careful as it’s not easy cutting a half frozen cake. Make sure the surface the cake is on is stable while you cut. I often put the cake on a kitchen towel to keep it from moving.
Enjoy! XOXO Jill


